
Ricoh SOP 2.5/3.x printers support the Celiveo 365 embedded printer agent.
This section provides the information regarding the prerequisites, specific settings to be made on the Ricoh SOP 2.5/3.x printers to use them with Celiveo 365.
1. Prerequisites
Before you install, make sure these prerequisites are met:
- The Ricoh printer supports embedded agents, you can check the support list here
- The printer is connected to an active LAN connection with Internet access (direct or through Proxy).
- The printer has a fixed IP or DHCP reserved IP address, DNS is set.
- The network allows management by SNMP v1/v2/v3.
- The printer time and date are set to local time.
- HTTPS is enabled.
- Session timeout is set to more than 30s.
- Java Requirements
- Oracle JRE 8 (Java SE Runtime Environment)
- Corretto OpenJDK 8
- Azul Zulu 8
Java Requirements Notes
The administrator’s PC must have Java installed to use the Celiveo 365 web portal for adding and syncing Ricoh printers. This requirement is unique to Ricoh, as Celiveo 365 relies on RXOP (A Ricoh supplied module available only for Java) to deploy the printer agent. The Celiveo 365 Admin Browser Agent (ABA) is launched from the browser to add, sync, or remove printers and interfaces with the RXOP module for Ricoh devices.
2. Configure the printer before installing the Embedded Agent
Follow these instructions to configure the Ricoh printer:
2.1 Login to printer
- In a web browser, connect to the IP address of the Ricoh printer.
![]()
- On the printer home page, click [Login].
- When prompted, enter a valid administrator username and password.
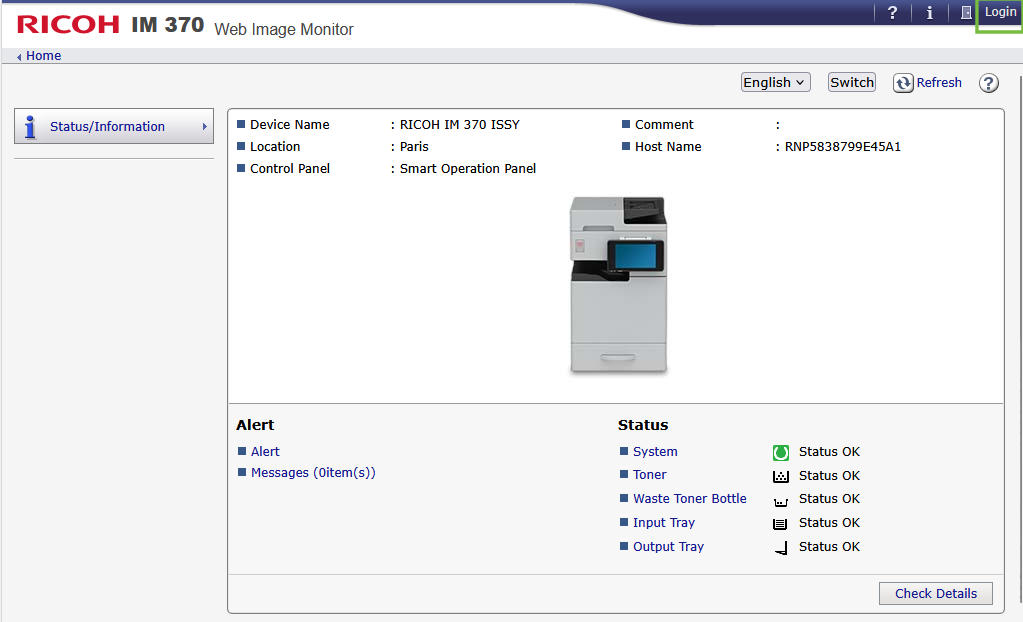

- Click [Login].
2.2 Enable SSL from Web Image Monitor
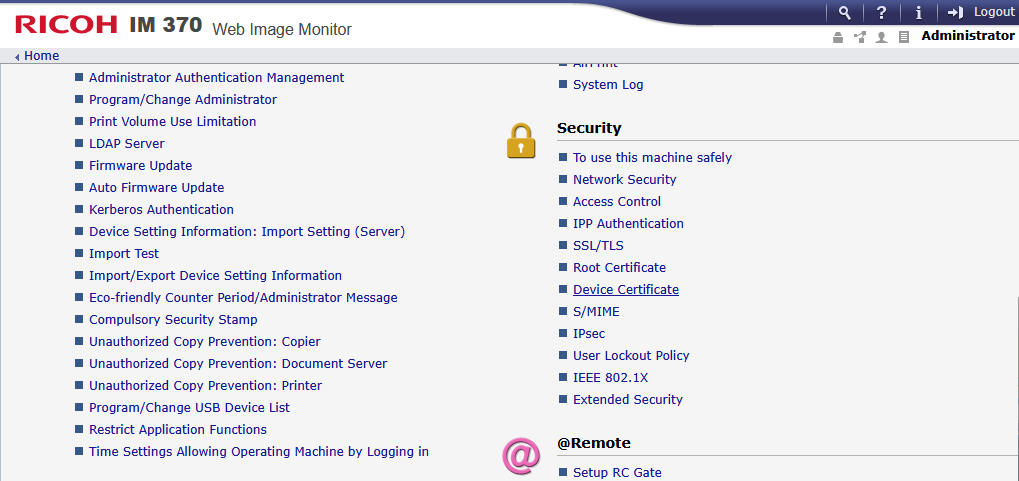
- Login to the printer’s Web Image Monitor.
- Go to Device Management > Configuration.
![]()
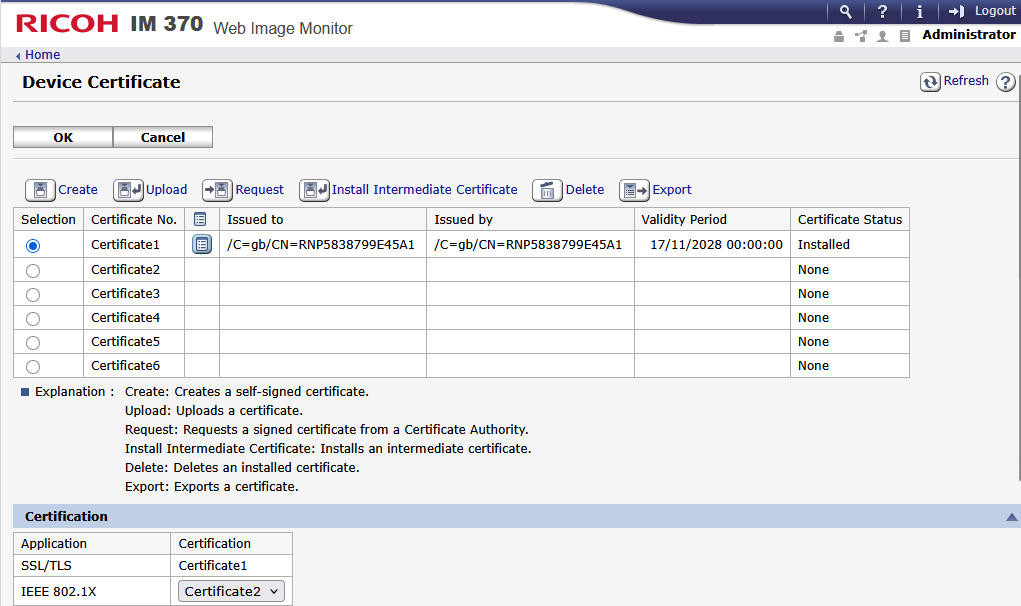
- To create a device certificate, go to Security > Device Certificate.
![]()
- Select the radio button for Certificate1 and click Create.
- Enter the required information and click OK.
![]()
- Click Home.
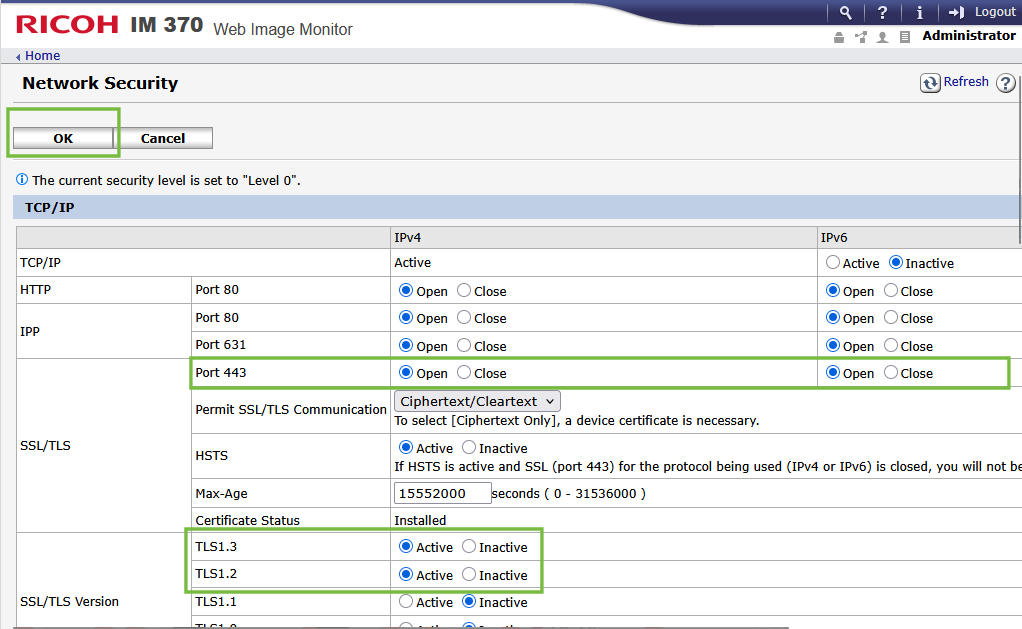
- Go to Device Management > Configuration > Network Security.
- At SSL/TLS – Port 443, select Open. Then click OK.
![]()

2.3 Set printer Sleep Mode Timer and auto Logout Timer
You need to set the Sleep Mode Timer (in minutes) and the Auto Logout Timer (in seconds) so that Sleep Mode Timer is longer than Auto Logout Timer.
Get to the time configuration screen through “Device Management” then “Configuration” and “Select Timer” option.
If Auto Logout Timer is enabled:
- ensure it is set to more than 30 seconds (default is 180s).
- the Sleep Mode Timer time (defined in minutes) must be longer than the auto Logout Timer (defined in seconds).
3. Connecting the card reader to the Ricoh printer
Card readers supported natively by Celiveo 365 are listed here
3.1 Using a card reader not supported natively by Celiveo 365
- The card reader must be in keyboard emulation mode, it shall display the card number in a text editor when connected to a PC
- The USB connector needs to fit the micro or mini USB port available on the side of the printer screen. The USB port in the back of the printer does not accept card readers.
- You need to know the reader PID/VID (Product ID and Vendor ID). That information should be in the card reader documentation.
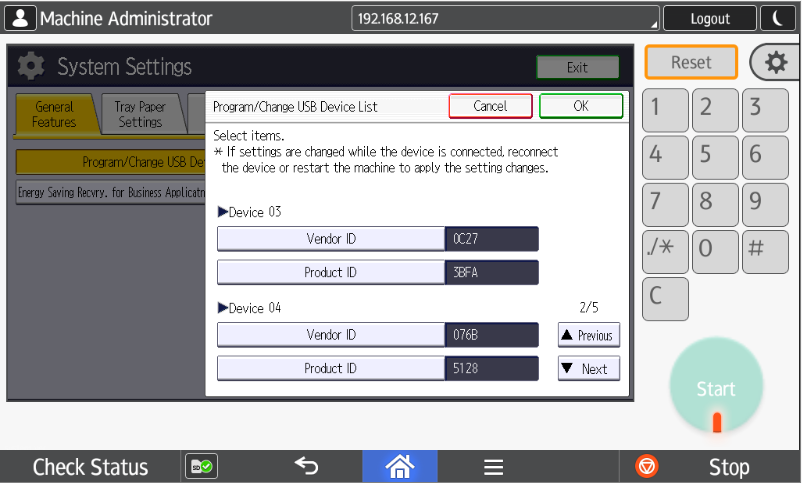
For that card reader to be accepted by a printer, its Vendor ID and Product ID (VID/ PID) information needs to be registered through a one-time configuration process.
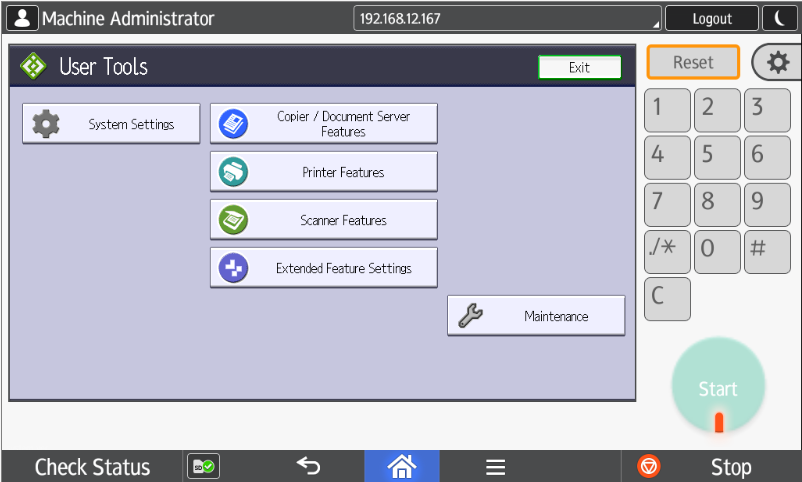
- At the printer panel, login as Machine Administrator.
- Go to System Settings > Program/ Change USB Device List
- Select a Device item and enter the Vendor ID and Product ID
- Click OK to save the settings.
![]()
![]()
![]()

3.2 Connect the card reader to the printer
The card reader must be connected to the mini or micro USB port available on the right side of the printer screen.
The USB A port available on the left side of the screen is for walk-up documents printing and shall not be used.
The USB A port available on the back of the printer shall not be used, it is also not accessible by the embedded agent.
If needed, contact your Ricoh reseller for more information as card reader accessories are available from Ricoh.
- Locate the micro-USB or mini-USB slot connector on the right side of the printer screen, it is protected by a plastic cover.
- Note that some printer need an optional accessory to have the USB port on the side of the screen, contact your Ricoh reseller.
- Connect the micro-USB or mini-USB cable from the card reader to the micro-USB or mini-USB port on the printer.
- Connect the device to the power cable.
- Switch on the printer.
4. Installing the embedded agent for Ricoh SOP 2.5/3.x printers
Connect to you Celiveo 365 WebAdmin portal, add a physical printer adding Ricoh printers. During the configuration process, a screen requests to select the Celiveo agent to use.
Use the latest version of the Celiveo 365 agent unless instructed otherwise by your IT, all information is available here.
In Celiveo 365, synchronize the printer to load the agent and its settings to the Ricoh printer.
5. Particularities
- Only the first print rule is enforced when multiple rules are defined for a Ricoh printer
- ‘User Group’ print rule is not applying
Post your comment on this topic.