
Manual Installation
For manual installation the WinCVP 365 installer uses a configuration and certificate pfx files to install the WinCVP 365.
Note: the configuration and certificate pfx files need to be on the same folder as the WinCVP 365 installer.
- Locate the WinCVP 365 package folder to open it.
![]()
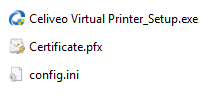
- Inside the folder there is following structure:
- Celiveo Virtual Printer Setup.exe* – Installer
- Config.ini – Configuration
- Certificate.pfx – Certificate
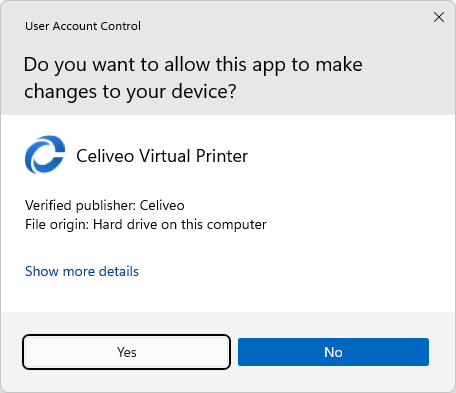
- Execute “Celiveo Virtual Printer Setup.exe” by double clicking on it.
- The installer will request User User Account Control, press “Yes”.
![]()
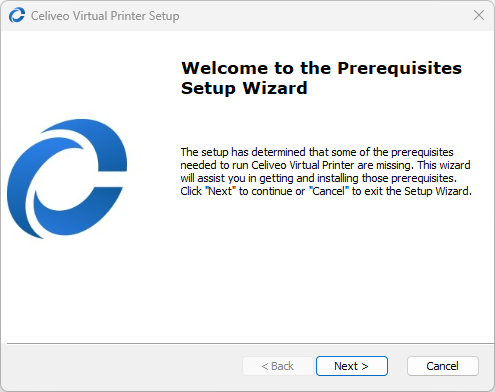
- press “Next” to start the prerequisites validation .
![]()
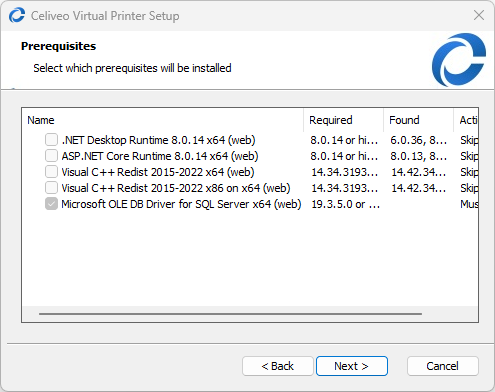
- The installer checks for prerequisites and downloads and install them if they are not already installed. Press “Next”.
![]()
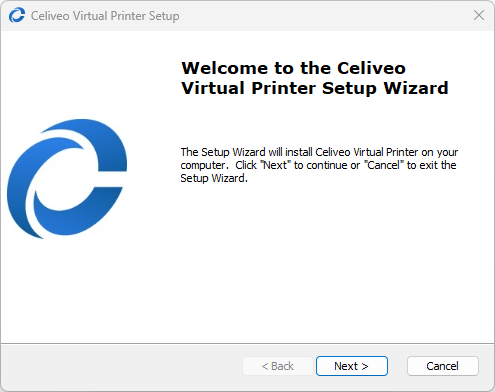
- press “Next” to initiate installation.
![]()
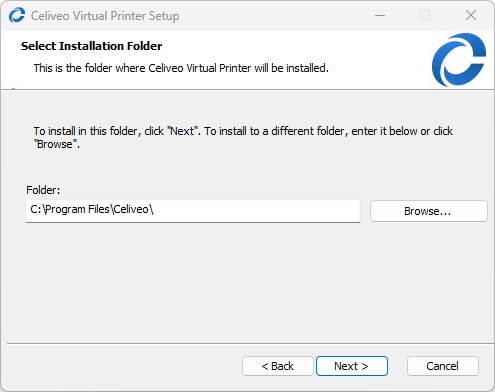
- Select the folder on which you want to install the WinCVP 365. The default path is “C:\Program Files\Celiveo”. Settings files will be located at “C:\ProgramData\Celiveo\Celiveo Virtual Printer”
![]()
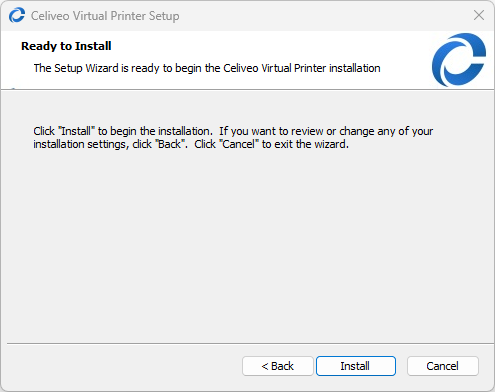
- Press “Install” to proceed with the installation.
![]()
- Press “Finish” to close the setup.
Last modified:
7 July 2025
Post your comment on this topic.