
Create a Windows Virtual Printer 365 Queue in the Web Admin portal
You set up a WinCVP 365 in the Celiveo 365 Web Admin, to generate a secure installation package that will create a local printer connected the the Cloud using certificate-based Zero-Trust-Access security
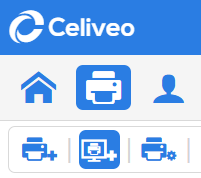
- Login to the Celiveo 365 Web Admin Portal and click on the printers menu
![]()
- Click on the add virtual printers
![]()
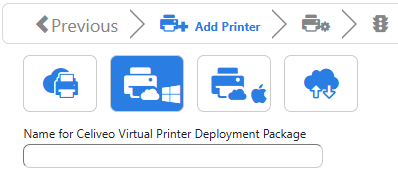
- Click on the icon for Windows Celiveo Virtual Printer 365, and enter the print queue name that will appear to the end-user.
- Ensure you don’t use forbidden character such as space or -. space can be replaced by the underscore character.
![]()
- Click on Next to start the print queue configuration.
- Press to import a driver and default settings from a print queue template installed on the local machine.
![]()
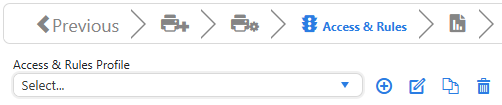
- Next, press to define the Access & Rules if any apply.
![]()
- Next, press to define the Cost Profile if any apply.
![]()
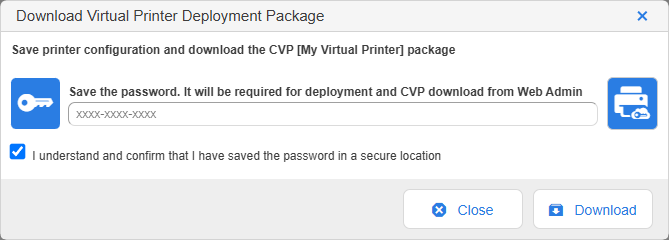
- Next, you will generate and save the package using your web browser. This package contains a unique certificate chain crucial for Zero-Trust Access security. It’s protected by a complex password that will be displayed only once.
- Important: Save this password immediately, as it’s required to install the package and to connect to the Cloud. After generation, copy the installation package to secure storage.
![]()
- Important: Save this password immediately, as it’s required to install the package and to connect to the Cloud. After generation, copy the installation package to secure storage.


The next step is to install the package on a Windows device.
Last modified:
7 July 2025
Post your comment on this topic.