
Create a macOS Virtual Printer 365 Queue in the Web Admin portal
You set up a CVP365 Virtual Printer in the Celiveo 365 Web Admin, to generate a secure installation package that will create a local printer connected the the Cloud using certificate-based Zero-Trust-Access security
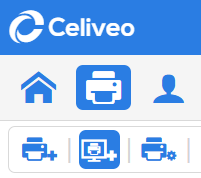
- Login to the Celiveo 365 Web Admin Portal and click on the printers menu.
![]()
- Click on the “add virtual printers” icon.
![]()
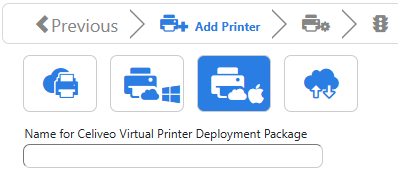
- Click on the icon for Celiveo MacOS virtual printer, and enter the print queue name that will appear on the end-user Mac.
- Ensure you don’t use forbidden character such as space or -. space can be replaced by the underscore character.
![]()
- Click on Next to start the print queue configuration.
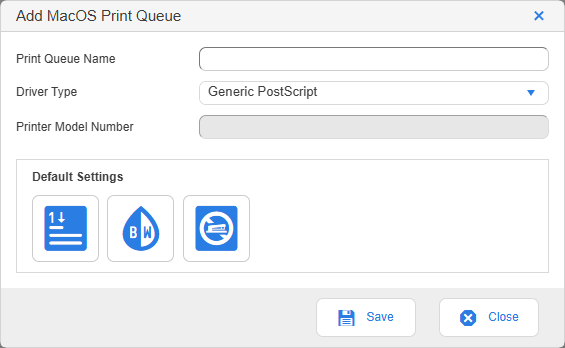
- Press + to add a driver and default settings.
- Define the Print Queue Name.
- Define the Driver Type that macOS CVP365 should use. In case you select a manufacturer driver indicate the printer brand.
- Define the Printer Model Number in case you want macOS CVP365 to locate and use the model specific driver in macOS. Note: The driver needs to be installed before macOS CVP 365.
![]()
- The next step is going to generate and save the package through your browser. The package contains a unique certificate chain used for the Zero-Trust-Access security, protected by a complex password displayed only once. Make a note of that password as it is mandatory to install the generated package and connect to the Cloud. copy the installation package in a secure storage, preferably without the certificate installation password information.

The next step is to install the package on macOS device.
Last modified:
7 July 2025
Post your comment on this topic.