
macOS CVP365 Installation Deployment Types
Deployment types available for the macOS CVP365:
Manual Installation
For manual installation the macOS CVP365 pkg installer uses the configuration plist and certificate pfx files to install the macOS CVP365.
Note: the configuration plist and certificate pfx files need to be on the same folder as the macOS CVP365 pkg installer.
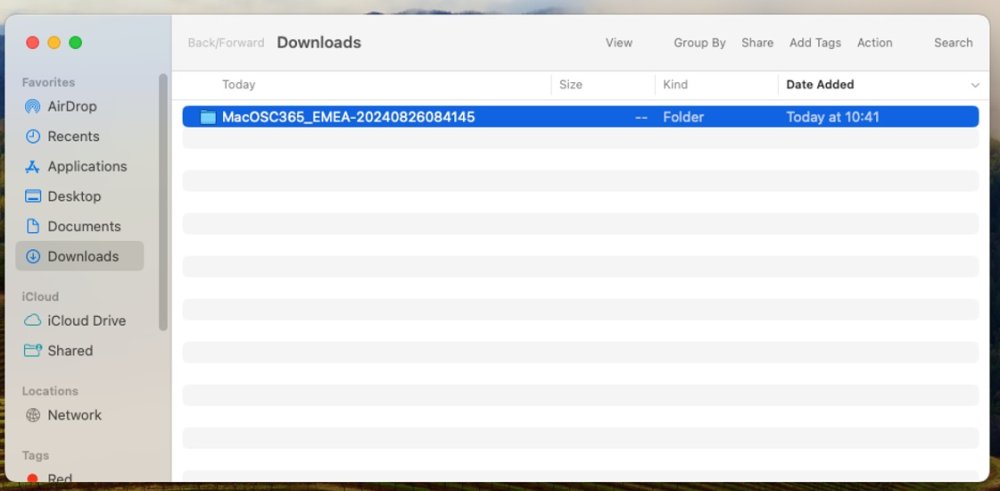
- Locate the macOS CVP365 package folder to open it.
![]()
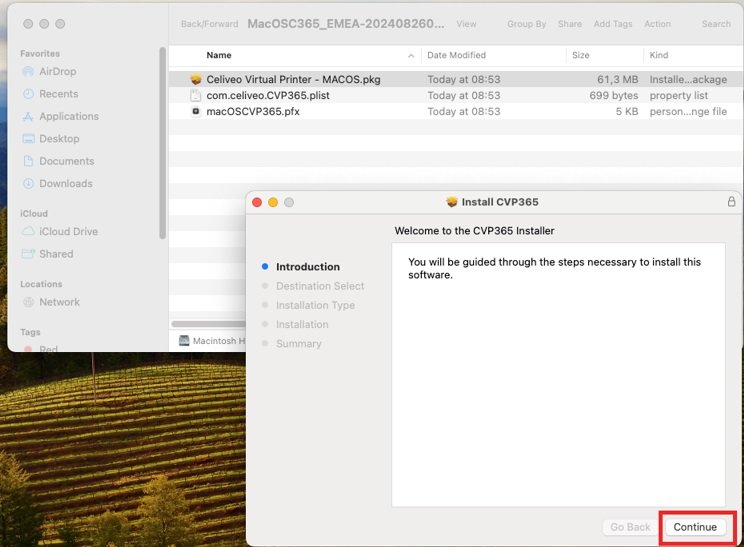
- Inside the folder there is following structure:
- .pkg – Installer
- .plist – Configuration
- .pfx – Certificate
- Execute “Celiveo Virtual Printer – MacOS.pkg” by double clicking on it.
![]()
- Press “Continue”.
![]()
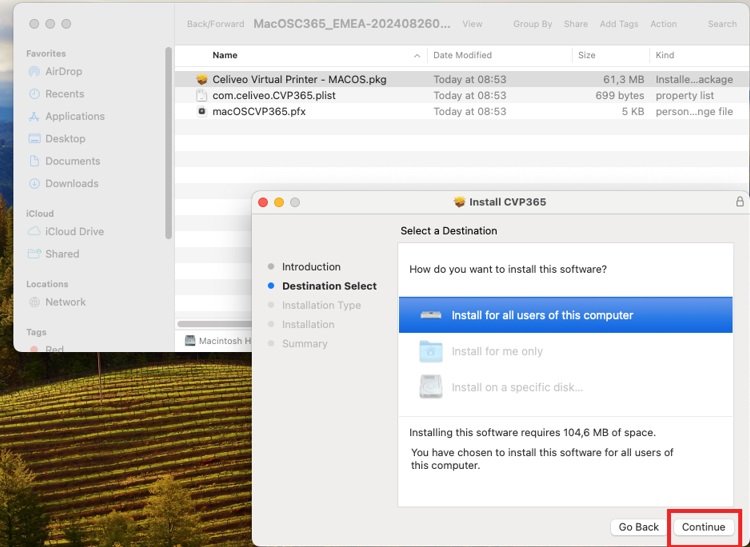
- Keep default settings and press “Continue”.
![]()
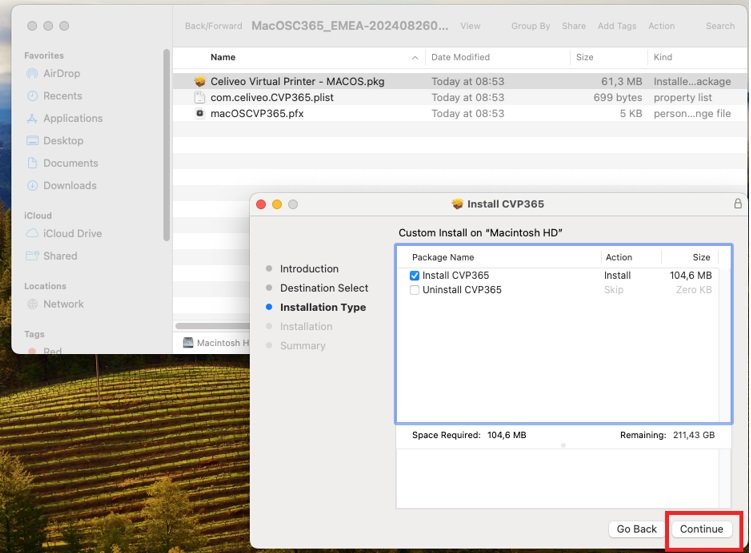
- “Install CVP365” is selected by default, press “Continue”.
![]()
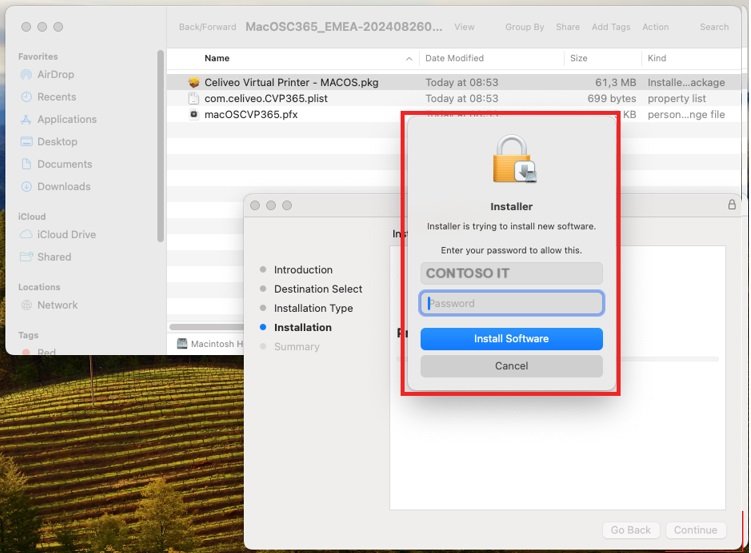
- If the elevation password is needed, use a local admin password and press “Install Software”.
![]()
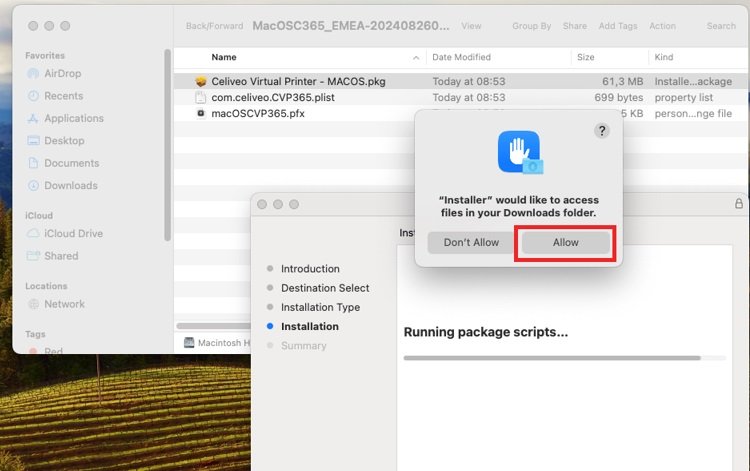
- Click on “Allow”.
![]()
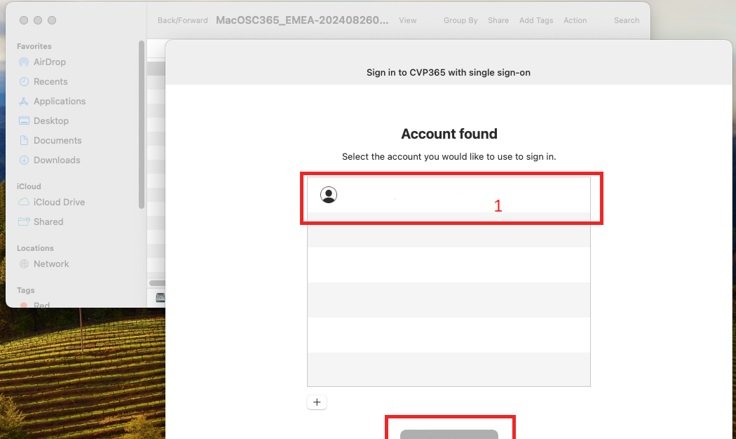
- Select the Microsoft 365 account corresponding to the login on the Mac and press “Continue”.
![]()
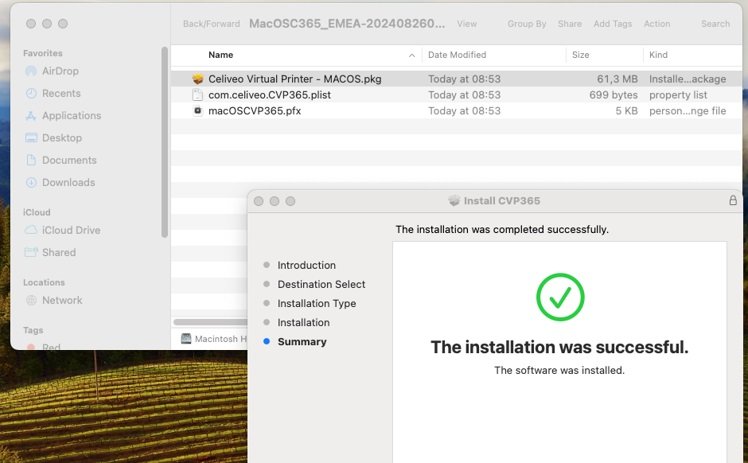
- Press “Close”.
![]()
- The macOS CVP365 is now installed, a high security Cloud print queue is now available under the name defined during the CVP365 creation in the Web Admin.

Automated Installation
Automated installation or preconfigured installation allows you to deploy the configuration plist and certificate pfx files on target macOS devices using the MDM of your choice.
- Locate the macOS CVP365 package folder to open it.
![]()
- Inside the folder there is following structure:
- .pkg – Installer
- .plist – Configuration
- .pfx – Certificate
- Configure the MDM to deploy the Configuration .plist and the Certificate pfx files on the following folder
/Library/Application Support/Celiveo/CVP365Settings/- Note: This process needs to be done before deploying the actual pkg installer file.
- Configure the MDM to the Installer pkg file to the MDM so it can be deployed on all managed macOS devices
Last modified:
7 July 2025
Post your comment on this topic.