
Install the Celiveo 365 Virtual Printer Queue (CVP365) on Mac
Locate the CVP365 package folder to open it.
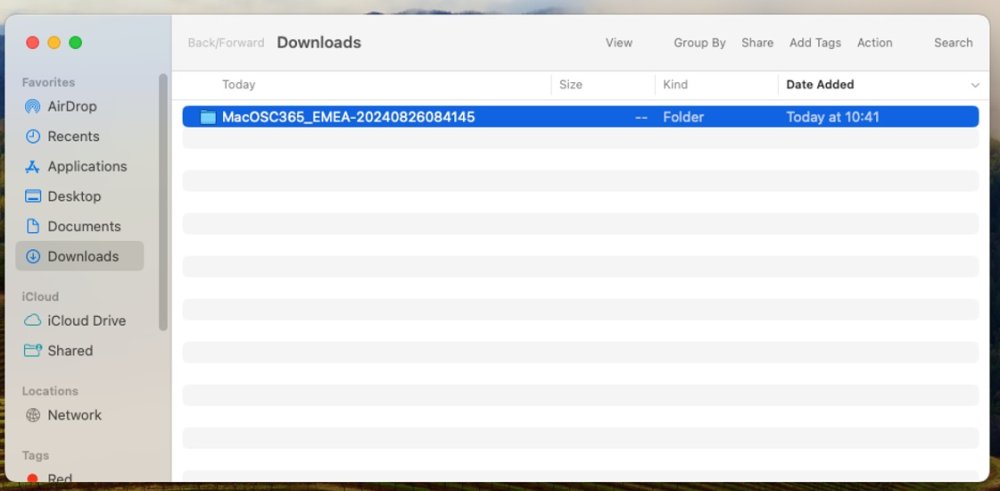
There are three files inside:
- pkg file is the installer
- plist is the configuration file
- pfx is the certificate file
We will first install the Zero-Trust-Access security on the Mac.
Open the MacOS “Keychain Access”, go to “Login” then “My Certificate”, where you drag and drop the certificate file.

Enter the password shown by the Web Admin portal during the CVP365 generation and press OK.

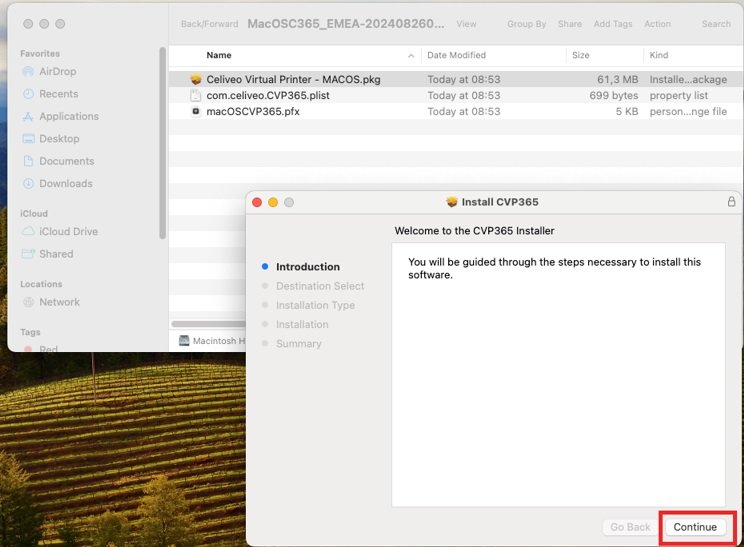
Execute “Celiveo Virtual Printer – MacOS.pkg” by double clicking on it.

Press “Continue”.
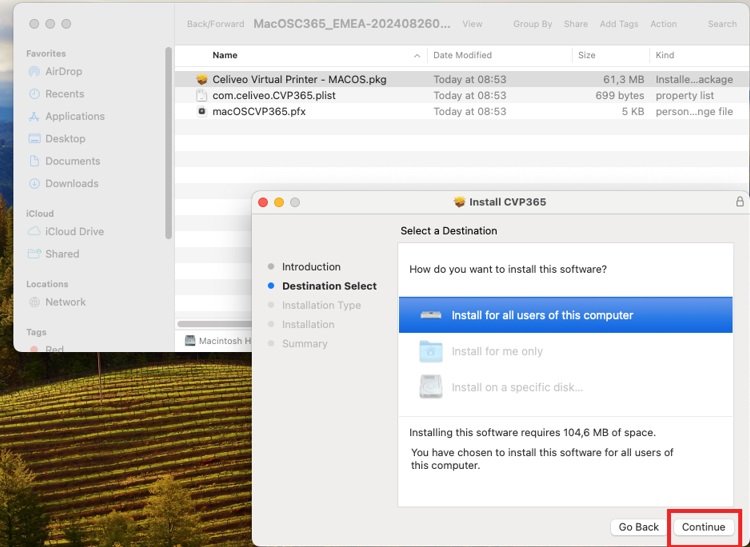
Keep default settings and press “Continue”.
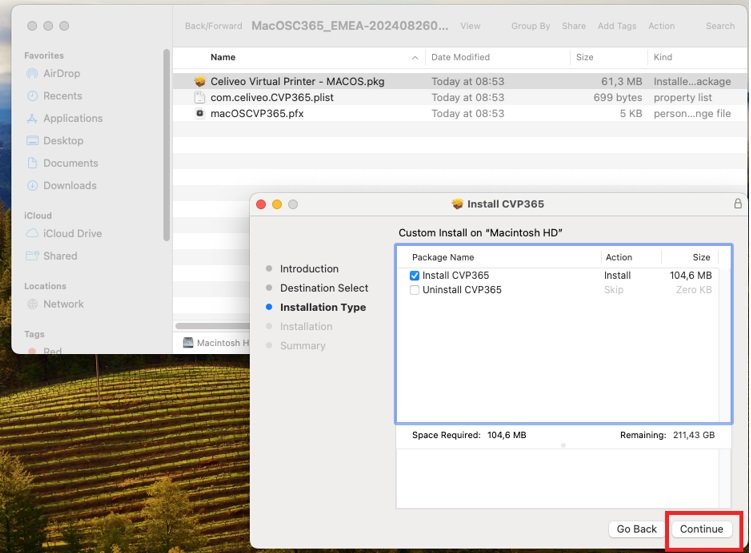
“Install CVP365” is selected by default, press “Continue”.
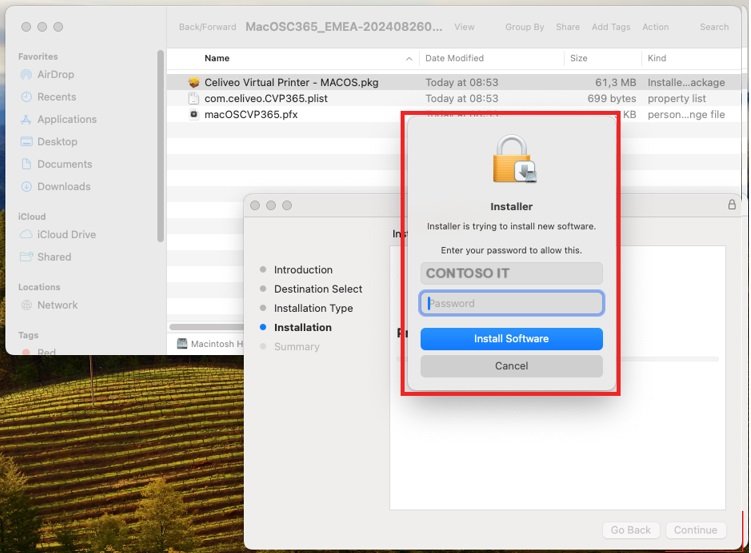
If the elevation password is needed, use a local admin password and press “Install Software”.
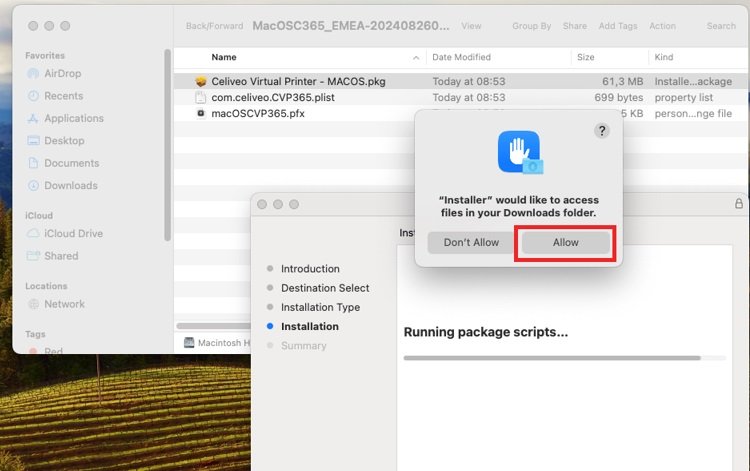
Click on “Allow”.
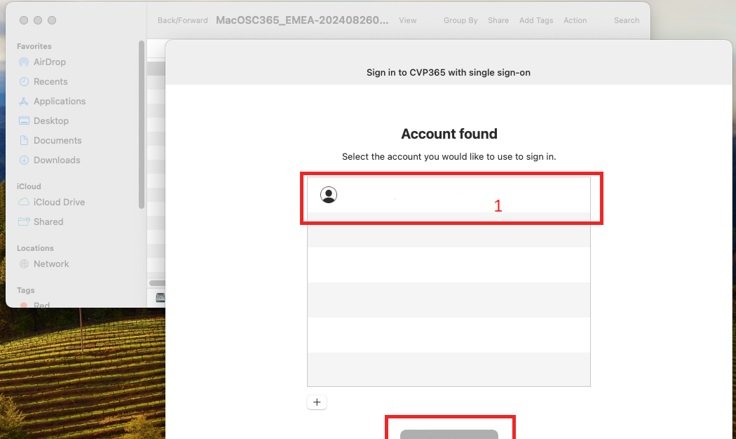
Select the Microsoft 365 account corresponding to the login on the Mac and press “Continue”.
Press “Close”.
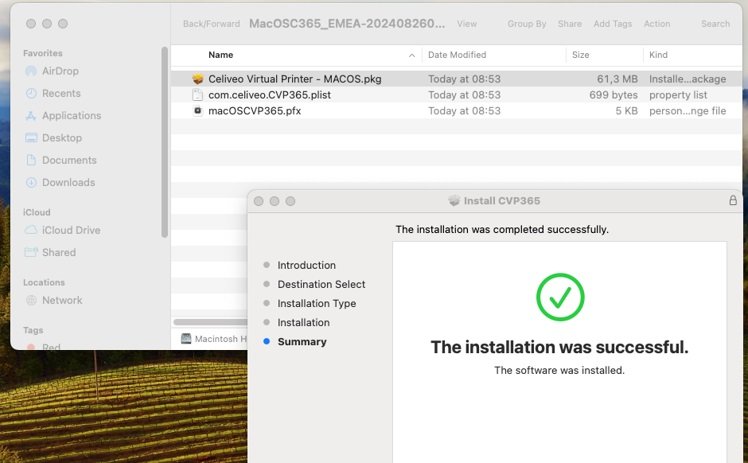
The CVP365 is now installed, a high security Cloud print queue is now available under the name defined during the CVP365 creation.
Post your comment on this topic.